
How to Build a Personal Productivity System That Actually Sticks

Why Most Productivity Systems Fail
Most productivity advice collapses under real life. It assumes you have perfect energy, predictable schedules, and unlimited focus. You don’t. That’s why rigid systems break within weeks. The problem isn’t discipline—it’s design.
A system that works has to absorb chaos. It needs to handle interruptions, shifting priorities, and days when your brain simply refuses to cooperate. If your setup only works on your best days, it’s not a system—it’s a fantasy.
Step 1: Define What ‘Done’ Looks Like
Before tools, before apps, before routines—you need clarity. What does success actually look like in your work and life?
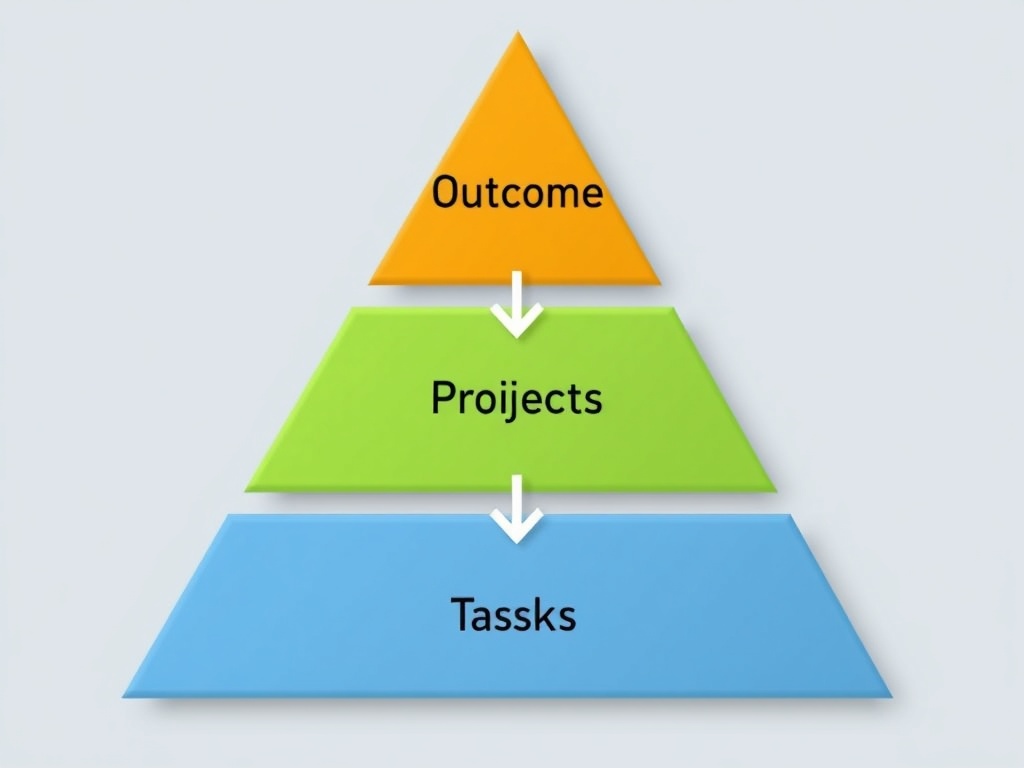
Break this down into three layers:
- Outcomes: What are you trying to achieve this quarter?
- Projects: What active efforts move those outcomes forward?
- Tasks: What actions can you take today?
Most people blur these together. That’s why they feel busy but not effective. Separate them clearly and your system immediately gets sharper.
Step 2: Choose Fewer Tools (Seriously)
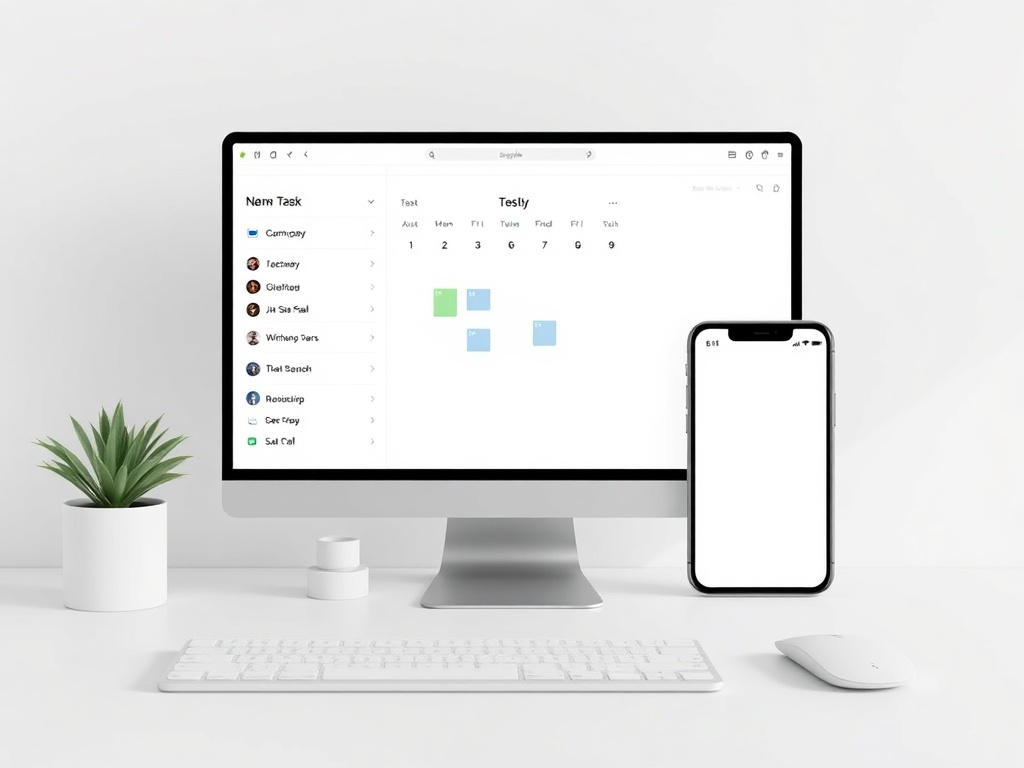
Tool overload kills consistency. You don’t need five apps and a complex workflow. You need one place for tasks, one place for notes, and one place for planning.
A simple stack works best:
- Task manager (daily execution)
- Notes system (ideas, reference)
- Calendar (time commitments)
If your system requires constant switching, you’ll avoid it. Friction compounds fast.
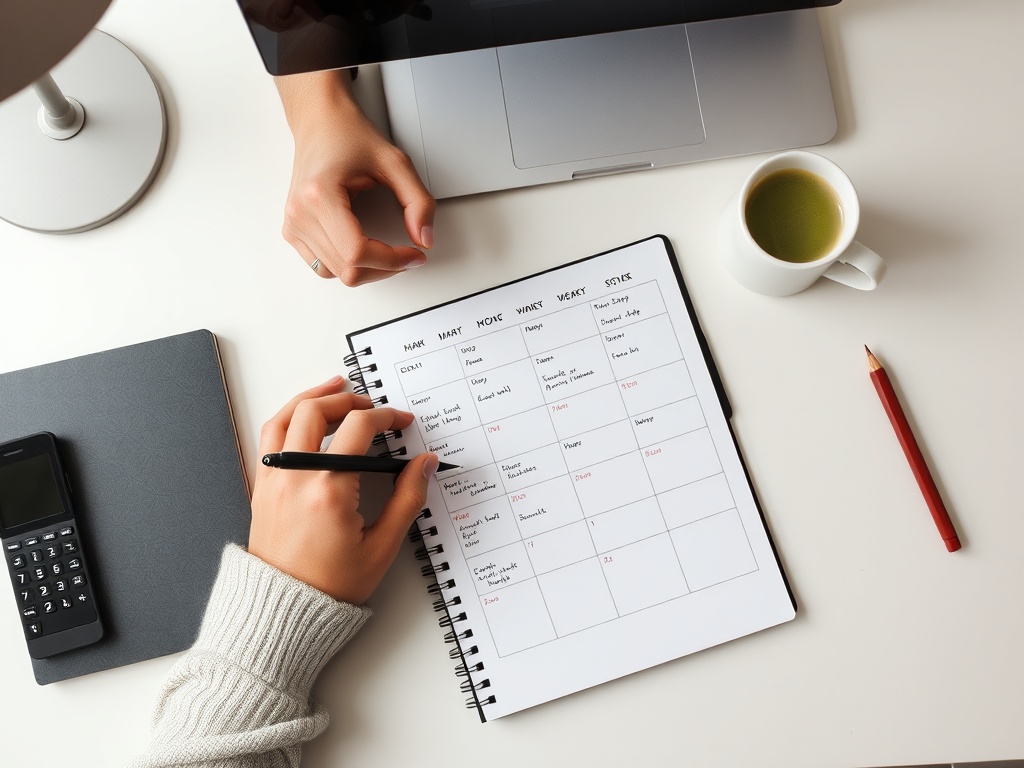
Step 3: Build a Weekly Reset Ritual
The weekly reset is where your system stays alive. Skip this, and everything slowly falls apart.
Once a week, do the following:
- Review completed tasks and projects
- Update active projects
- Plan the next 7 days
- Clear inboxes and loose notes
This isn’t optional. It’s the maintenance layer of your system.
Keep it simple and consistent—same time, same place every week.
Step 4: Design for Low-Energy Days
You will have low-energy days. If your system doesn’t account for them, it will fail.
Create a fallback mode:
- Identify 2–3 critical tasks only
- Reduce scope, not consistency
- Use checklists instead of open-ended work
This keeps momentum alive even when motivation drops.

Step 5: Separate Planning from Doing
Planning and execution require different mental states. Mixing them creates friction.
Block separate time for planning (weekly/daily) and execution (deep work sessions). When you sit down to work, you shouldn’t be deciding what to do—you should already know.
This single shift dramatically reduces procrastination.

Step 6: Use Constraints to Stay Focused
Unlimited choice leads to paralysis. Constraints create clarity.
Examples that work:
- Limit daily tasks to 3–5 priorities
- Time-block your calendar
- Set deadlines even for internal work
Constraints force decisions. Decisions create progress.
Step 7: Build Feedback Into the System
A system that doesn’t evolve will eventually break. You need feedback loops.
At the end of each week, ask:
- What worked?
- What didn’t?
- What needs to change?
Make small adjustments continuously. Avoid overhauls. Iteration beats reinvention.

Step 8: Make It Visible and Easy to Use
If your system is hidden or complicated, you won’t use it. Visibility drives consistency.
Keep your main task list visible. Use widgets, pinned tabs, or a physical notebook—whatever keeps it in front of you.
The easier it is to access, the more likely you are to follow through.
Common Mistakes to Avoid
- Over-engineering your system
- Switching tools too often
- Ignoring weekly reviews
- Trying to optimize everything at once
Keep it simple. Consistency beats complexity every time.
Putting It All Together
A productivity system isn’t about doing more. It’s about making better decisions with less effort.
When built correctly, it reduces stress, increases clarity, and helps you focus on what actually matters.
Start simple. Iterate weekly. Design for real life—not ideal conditions.
That’s how you build something that actually sticks.